
Intro to iPad Lettering
You've seen the beautiful posts on Instagram with digitally-created quotes and animations, often with a beautiful background. And you want to create something like that too. Let us introduce you to iPad lettering!
There are so many benefits of digital lettering, not the least of which being saving time and money on your craft. (I mean, do you know what you're spending on paper and pens? We won't tell if you won't!)
Watch our most recent live iPad project workshop here! Follow along and create your first project with us. It’s free.
Pin it for later! ↓

Getting started with digital lettering can be a bit intimidating, especially if you're not a tech whiz. But don't worry--you don't have to be! Let us walk you through some of the things to think about before getting started.
Table of Contents
Choose Your Lettering App
First, you need to decide which of the many iPad apps you're going to use.
There's no shortage of options, from apps that allow you to simply practice your calligraphy and hand lettering style to ones that allow you to create full projects that just jump off your device.

Examples of iPad lettering
Apps For Digital Art And Calligraphy
There are plenty of apps on the market for digital calligraphy. A Google search quickly yields a list of names and options to try.
Popular choices for iPad calligraphy are:
Procreate App (most popular)
Calligraphy Penmanship
Calligraphy Handbook
Adobe Fresco
Affinity Designer
When choosing an app for iPad lettering, keep your chosen style in mind. There are many lettering apps that specialize in a single calligraphy style such as Gothic Fraktur for anyone who wants to learn medieval lettering.
Whatever style of digital art you're interested in, there's a lettering app that does it really well. However, there's one app that seems to be the best choice for digital artists: the Procreate App.
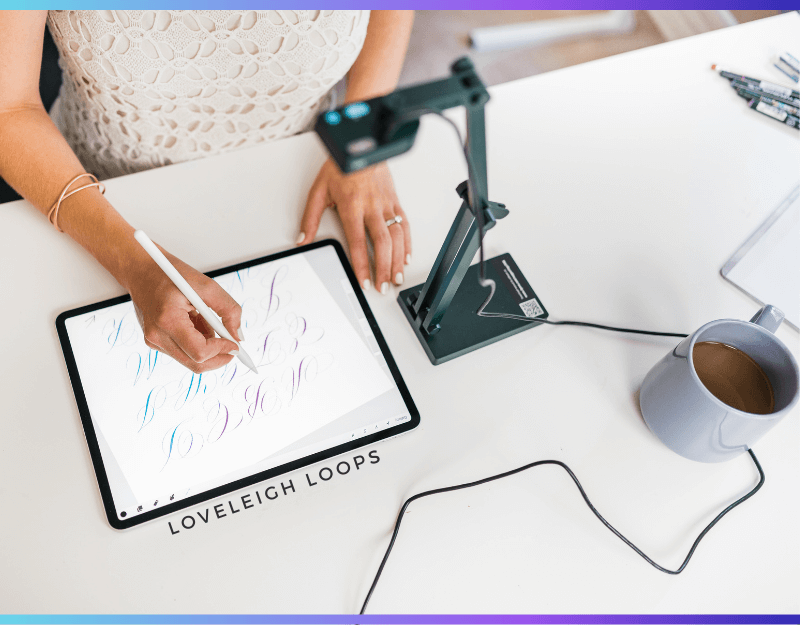
Jillian doing iPad lettering using the Procreate App
Why Procreate is the BEST App for iPad Lettering
Our favorite, by far, is Procreate for the iPad. While there are Procreate alternatives, Procreate is absolutely worth the investment if you love lettering and want to grow your talent. Just a few of the reasons we love Procreate include:
You have access to Procreate's brush library that's filled with ready-to-use and custom brushes
Because it's one of the most popular, there's loads of support - both within the app and in online communities (like our Procreate Facebook group!)
We've found it to be the most versatile, with customized settings and easy shortcuts
It's easy to break some of the rules of lettering (after you learn them, of course)
The Procreate app is an absolute game changer and we can't recommend it enough.
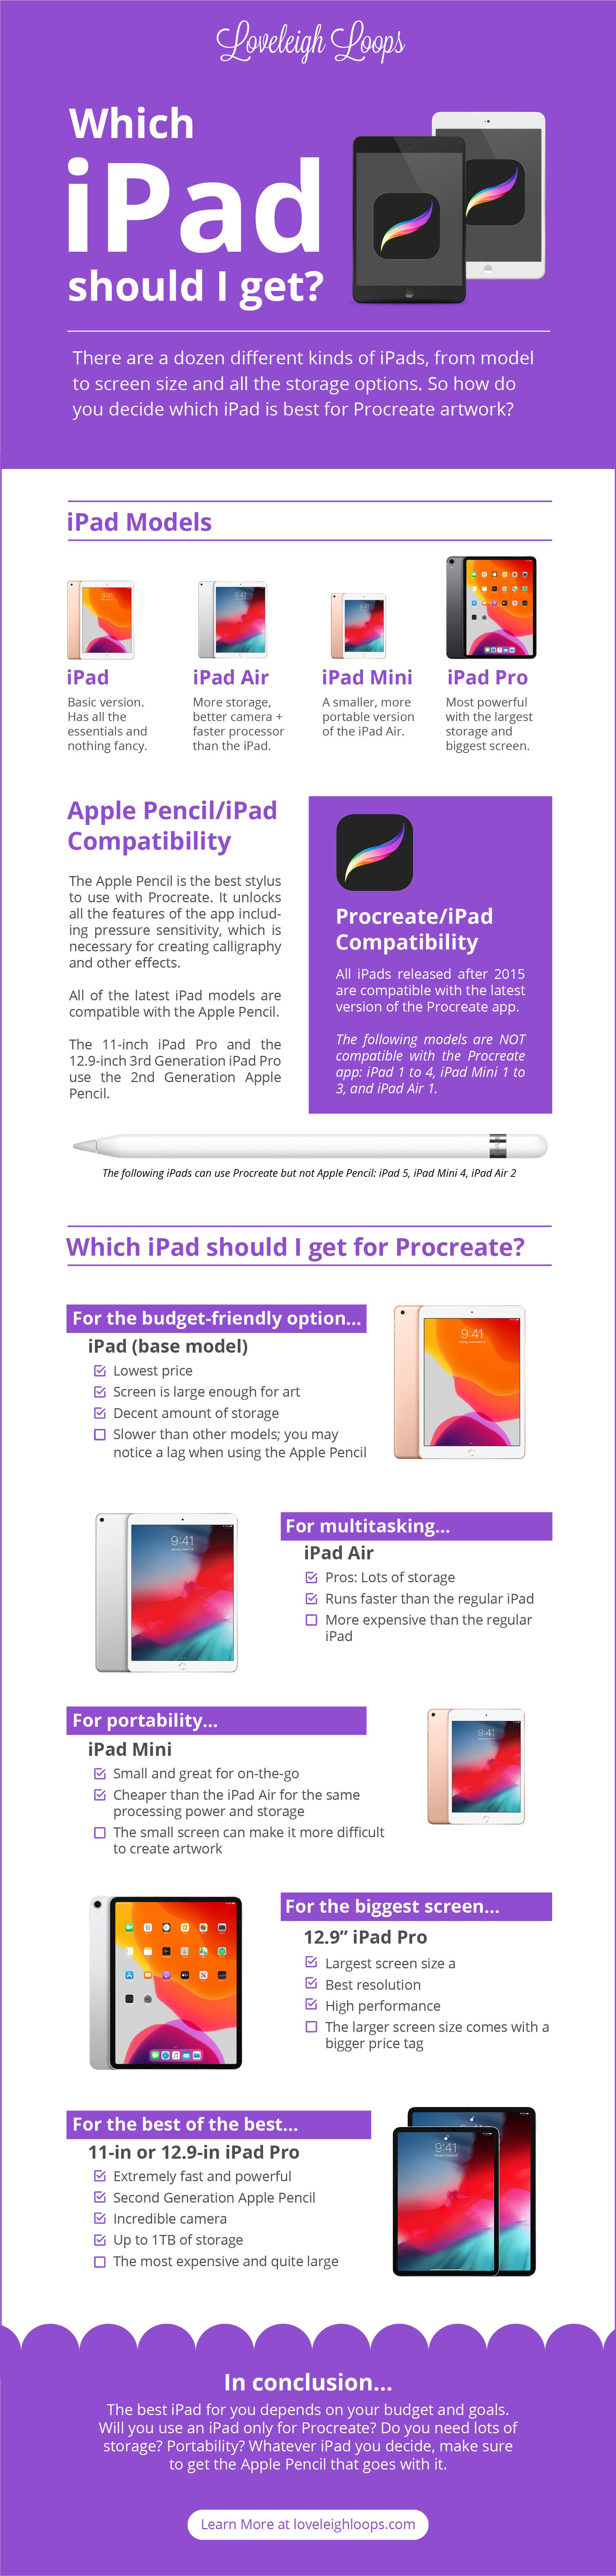
Get The Right iPad For Procreate
It seems like a no-brainer, but with so many different iPad models out there, it's important to do the research and make sure you have the right one. Lucky for you, we've done the research for you!
Before you rush out the door to buy a new iPad Pro, check out our post for the full run-down of which iPads work well for Procreate and what the benefits are of each.
There's a lot to say about the various iPad models but we think it's important to take a moment and zoom in on the issue that's at the core of this: the Apple Pencil.
You may also like: How To Make A GIF In Procreate
The Importance of the Apple Pencil
When you look at examples of beautiful calligraphy, one of the first things that people notice is a beautiful variation in the thickness of lines.
The contrast between brush strokes is an essential part of what makes calligraphy different from writing. As a rule of thumb, you make thin upstrokes and thick downstrokes (if this is a new concept, don't worry - you can learn all about it in our basic strokes guide).

Cursive example

Calligraphy example
While many beginners add shading after they finish writing their letters (AKA faux calligraphy), professional lettering artists apply pressure in their downstrokes to create this effect. This is why it's so important to have an Apple Pencil with pressure sensitivity.
Both the first generation and the second generation of the Apple Pencil come with a tip that's pressure-sensitive. However, the USB-C Apple Pencil is NOT pressure sensitive, so we don’t recommend using that one for iPad calligraphy.
It's this pressure-sensitive Apple pencil that is key to unlocking all of the features in the Procreate App.

The Apple Pencil in action
The Procreate Brush Library and the Apple Pencil
When you have the right iPad and Apple pencil, you'll be presented with a set of ready-to-go Procreate brushes. Without a doubt, this versatility is one of our favorite things about this lettering app!
Even from the get-go, the Procreate brush library comes loaded with different brushes that all have different effects. From brushes that resemble a simple brush pen to one that creates a super realistic watercolor effect, you're guaranteed to find anything you need for your lettering work.
Besides all the different brushes, Procreate is also packed with other features such as blend modes that help your own work truly stand out. However, most of these rely on using an Apple Pencil with pressure sensitivity.

Learn The Ins And Outs Of Procreate
Once you've decided on your app of choice and you have the right iPad, you need to learn all the ins and outs of the tool. With Procreate, there are so many shortcuts and features you can use to make it easy and efficient.
We find that many people just jump right in, then become frustrated that they aren't able to do what they want to do. They don't pay attention to the updates to the app and don't have the right accessories to use it correctly.
Learn more about Procreate and how its features work in our video below. It's the first of a three-part series of Procreate tutorials for beginners.
You may also like: How To Flourish In Procreate
Set Up Your Procreate Preferences
As you get to know Procreate better, you'll start to develop your own workflows for how you create projects. You can set up your own preferences so Procreate looks and feels the way you want it to. You can adjust preferences for things like:
A light or dark interface
A left-handed or right-handed interface
Pre-saved canvas size
Pencil and stylus behavior
QuickMenu
The more you learn about Procreate, the more comfortable you'll be with it. And the more likely you'll be able to continue your journey with Procreate lettering.

Watch the iPad Lettering Workshop
In this ultimate iPad lettering tutorial, we'll cover all the basics and teach you how to make a lettering project. Hit play on the video below!
Tip: To get the lettering template shown in the video, sign up below the video and we'll email it to you.
Here's what we'll cover during the workshop:
How to use common Procreate App tools and settings
How to import photos
How to letter a quote using a digital brush
How to customize brushes
How to create a color palette
How to change the colors of your letters and background
How to edit and adjust your quote layout
How and why to use layers
How to export and share your work
We invite you to follow along with the workshop on your iPad, as we take you step-by-step through the process.
Free Practice Sheets And Other Resources
We have endless free worksheets, tutorials and lettering style inspiration here at Loveleigh Loops. We hope that you'll make yourself at home and let us be a part of your iPad lettering journey!
