
How to do “Ribbon Lettering” [Tutorial + Alphabet]
Would you like to learn how to do ribbon lettering? You've come to the right place!
To beginners, examples of ribbon lettering look a lot more difficult than it really is.
If you've got the basics of modern calligraphy down, then you'll see that creating the flowing lines and ribbons is a trick more than it is a new style of writing.
Today we'll dive into a simple step-by-step tutorial so that you'll be doing some really cool ribbon lettering in no time.
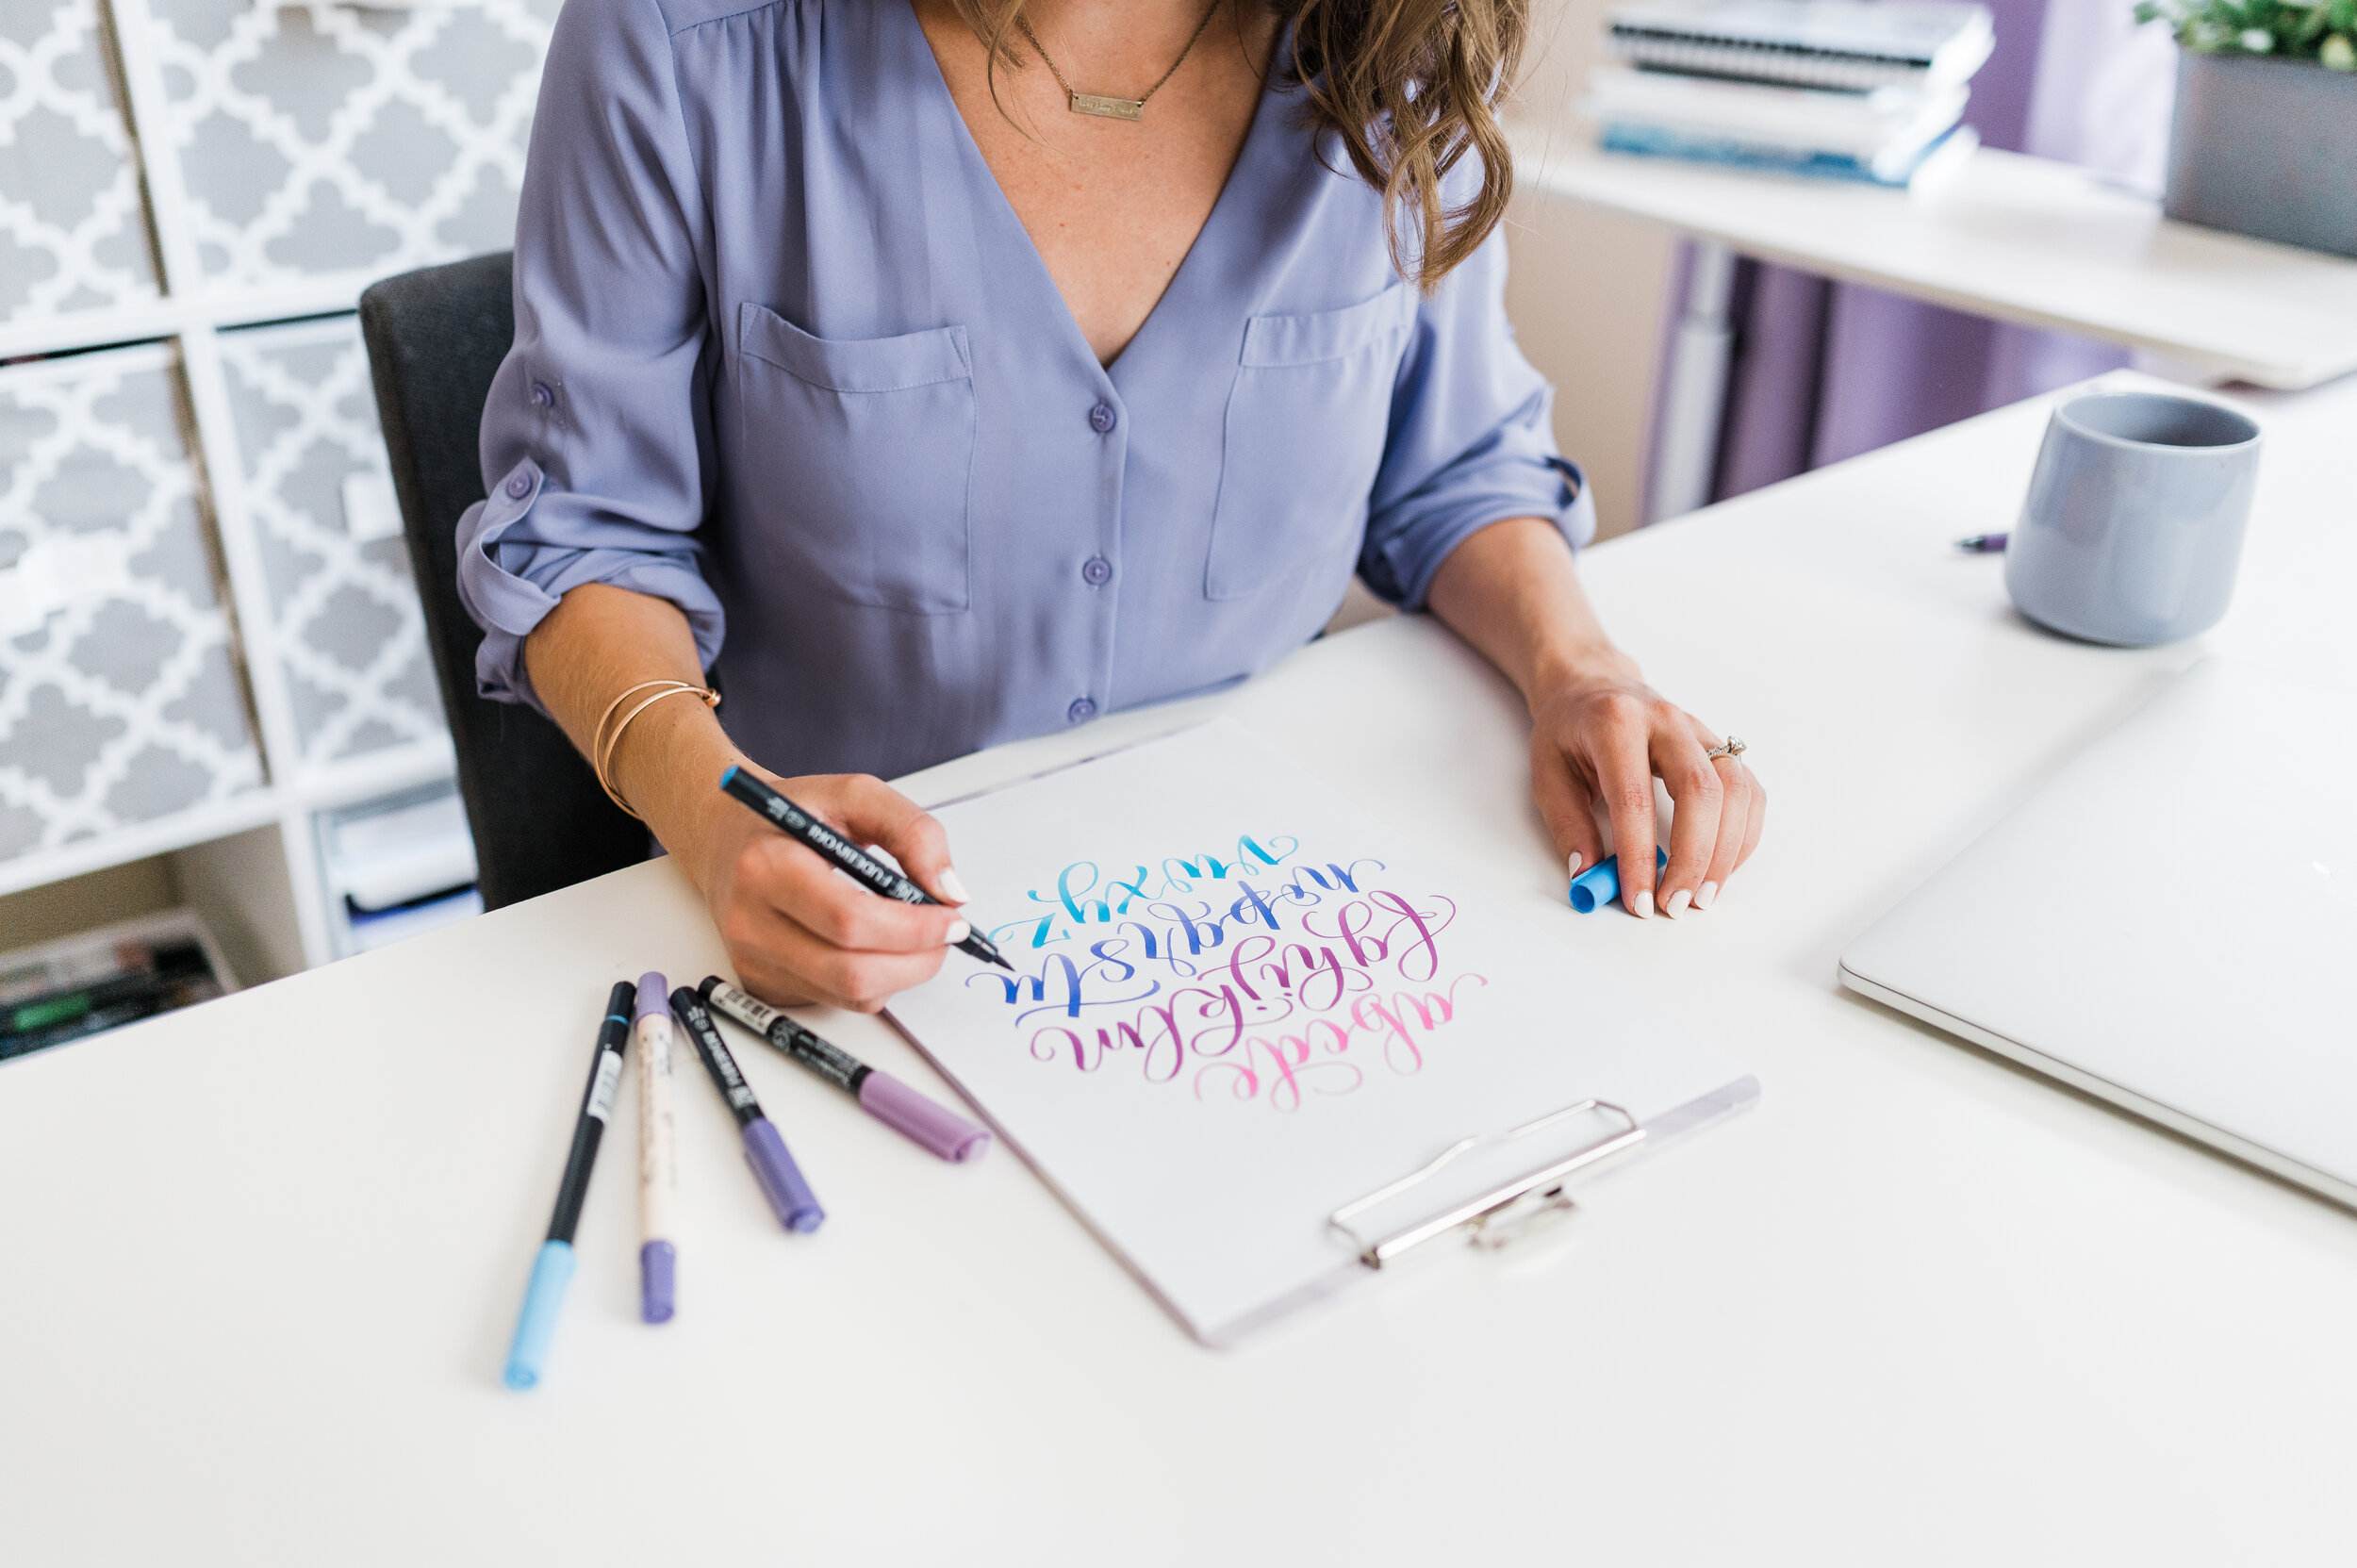
Pin it for later!

A quick hello… we’re Jordan (left) and Jillian (right).
The twin sisters and founders of Loveleigh Loops. We’ve taught 100,000+ students lettering and calligraphy in 100+ countries and we’re SO excited to teach you today!

We have so many free lettering resources for you. Make yourself home here at Loveleigh Loops!
Watch the full video tutorial below or follow the steps underneath the video. We'd love to see your work if you try it! Tag us on Instagram @LoveleighLoops. Let's dive in!
Table of Contents
What is Ribbon Lettering?
As the name suggests, ribbon lettering is all about making your lettering look like ribbons rather than lines of ink.
Through the use of shading and outlining, you can create a neat 3D effect for your letters and make your calligraphy really stand out.
What Supplies Do You Need For Ribbon Letters?
Before we dive into our ribbon lettering tutorial, let's make sure everyone has the tools that they need.
Just like any style of modern calligraphy, ribbon lettering won't cost a fortune. In fact, you need only three things to create the ribbon effect:
Brush pens: You can create the effect with one color but two colors make for a better ribbon effect. We’re using Zig Brushables
Paper: Always use quality calligraphy paper with your brush pens. We recommend Canson Marker Paper
Monoline pen: For our example, we used a thin, black one. We’re using Tombow Mono drawing pens
Although your ribbons could look better with some additional pens, we would never suggest supplies unless they're really necessary.
Don't have a brush pen yet? No worries! Browse the pens that we use in our Amazon Storefront.
Or download a workbook of our favorite lettering supplies in our supply guide:
Now that you're all set up, let's start the tutorial.
How To Make Ribbon Letters
In this tutorial, we'll walk you through the exact steps to do ribbon calligraphy.
Although creating the ribbon effect is easy once you understand all the steps involved, it does require a bit of skill with the brush pen. This is where complete beginners might find themselves struggling a little.
If you need more support creating ribbon letters or are just looking for further resources, we've got your back! Check out our brush lettering beginner's guide where we give loads of useful tips and tricks. Let's go over the process step by step.
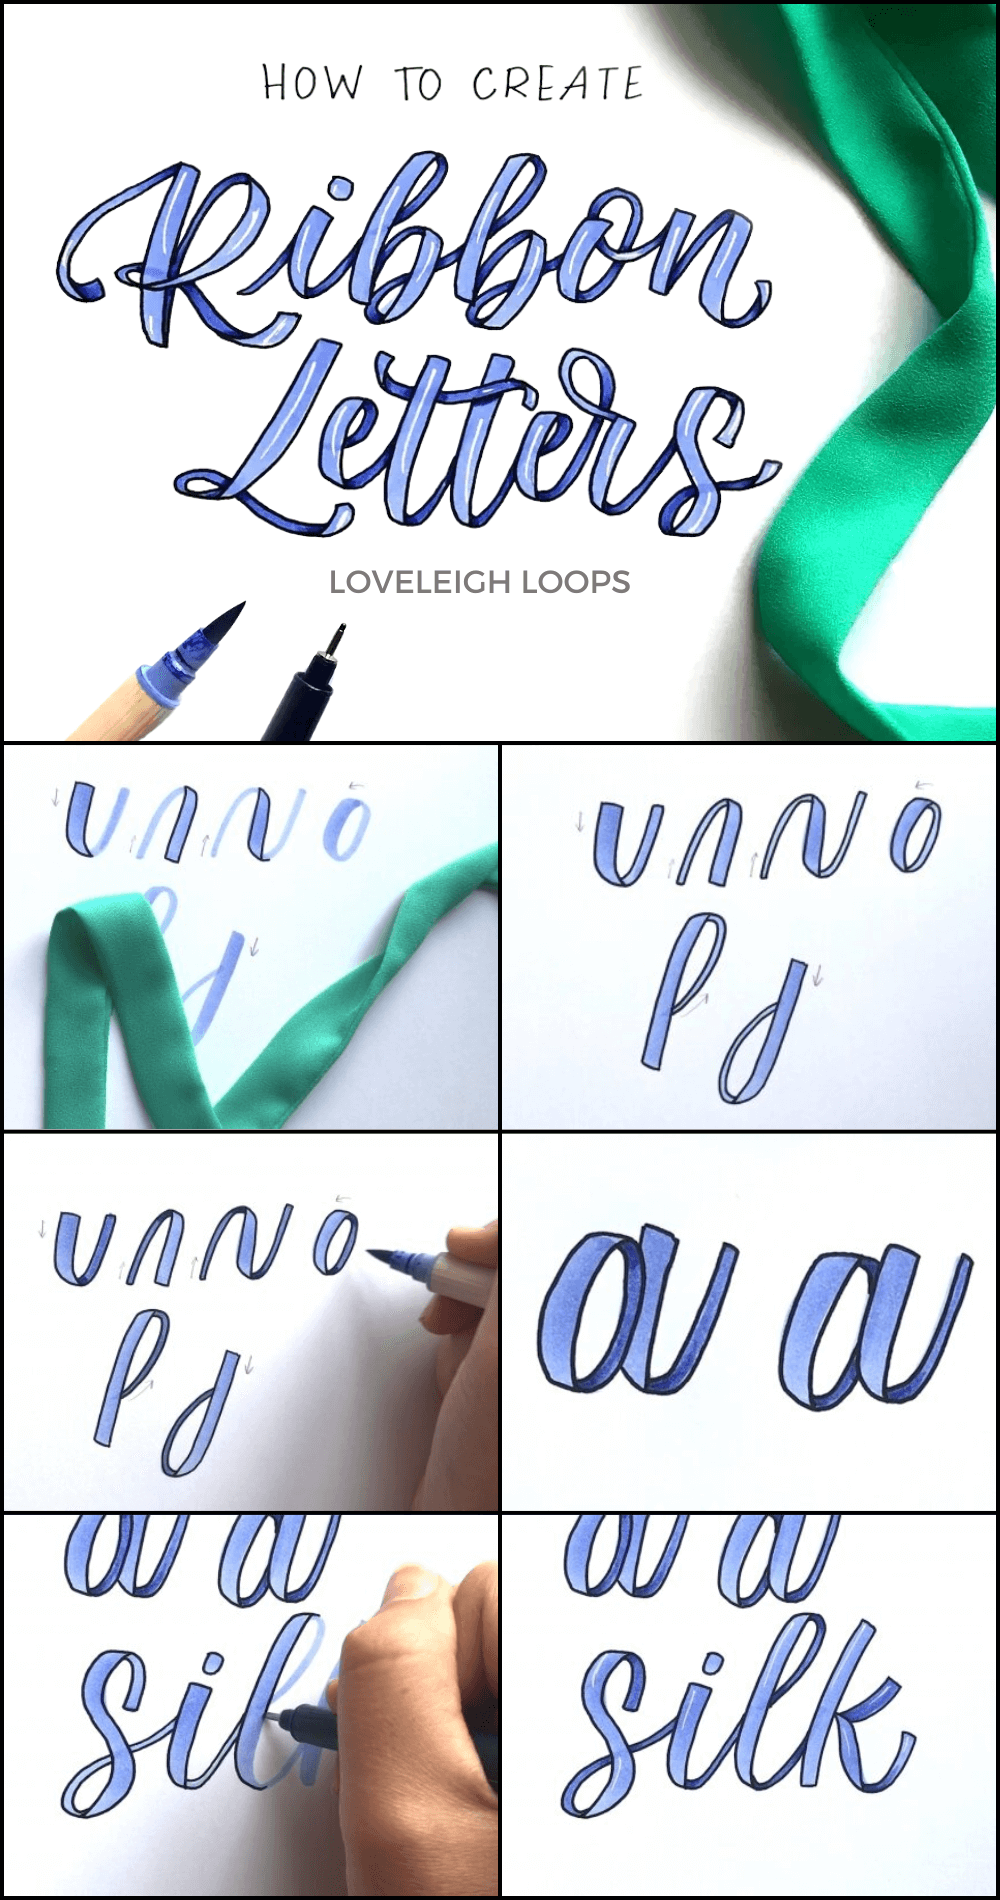
1. Start with a brush pen
For the first step, get your favorite brush pen and write the word or letter that you want to turn into ribbons. Keep in mind that in brush calligraphy we make thin upstrokes and apply pressure to create thicker downstrokes.
Is this your first attempt at calligraphy? Don’t worry! What you see below are the 8 basic calligraphy strokes, and can learn them in our basic stroke tutorial.
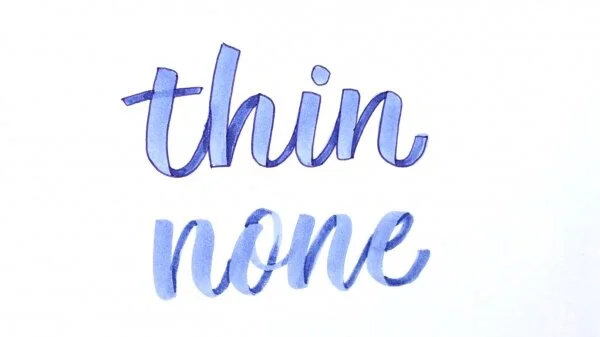
Or… even though it's normal in brush lettering to create strokes of different thicknesses, you can also make all the strokes the same weight to look even more like a ribbon.

You may also like: Faux Calligraphy Tutorial
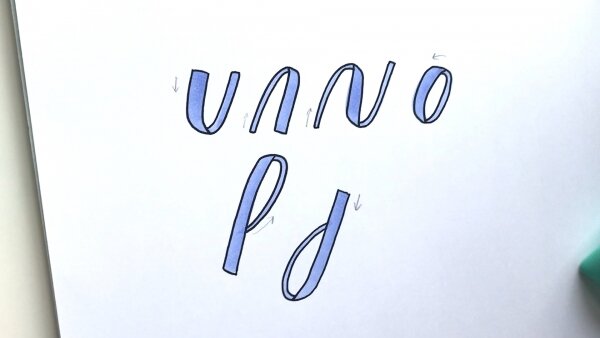
2. Define the edges
Using a mono-weight pen, create a dark outline along the edges of the ribbon on the down strokes (the thicker strokes). Use a real ribbon if you need help visualizing where to add definition.

3. Outlines
Finish outlining the thin strokes after the thick strokes are defined.
You may also like: Calligraphy Tutorial For Kids
4. Add Shadows
Part of the 3D ribbon effect is creating different shades and you can do this without resorting to a second darker color.
Using the same color and building on itself, or choosing a slightly darker shade, add shadows next to the folds and overlaps wherever the ribbon is "behind" itself (typically on the thin upstrokes).

5. Add More Shadows!
Darken the areas right next to the folds and overlaps with a darker color, or by adding one more layer of the same color.

6. Add Highlights
This step is optional, but you can use a white gel pen to add a small vertical line on parts of the down strokes to create a more 3D look. You'll be amazed by how much adding a little light can enhance the quality of your ribbon lettering.

7. Put it together
Once you understand the basic shapes, put them together to form letters. First, outline the shape that you want to be "on top". To create the 'a' on the right below, outline the second shape before outlining the oval.

Writing words
Write the entire word with a brush pen, then go in with the mono weight pen to outline the ribbon edges.

Once the word is outlined, add the 3D detailing.

You may also like: How To Write “Happy Birthday” In Calligraphy
Ribbon Lettering Alphabet
Want to do more cool ribbon lettering for yourself? We have an entire workbook dedicated to teaching you the ribbon lettering alphabet.

Our workbook comes with:
An easy description of the essential steps for creating the ribbon lettering style
A to Z lowercase and uppercase alphabet for EVERY tutorial step
A practice page with a semi-transparent alphabet to trace over and practice on
Blank practice guidelines for extra practice
A video tutorial walking you through every step
While this workbook is a paid product, we do have 20+ free worksheets in our worksheet library. Click to start browsing tons of free calligraphy and lettering resources!
Ideas for Experimenting
After you have the basics down, have fun with it! You can use a thinner pen to outline the ribbon, or skip the outline altogether and just add shadows. Feel free to add patterns and textures to the ribbon as well.
Ta-da! Congrats on creating your Ribbon Lettering piece. We would love to see your project! Share it with us in our free Facebook Community. Search "Loveleigh Loops Calligraphy Community" on Facebook or click here to join.
Pin it for later ↓
Ready to learn more? Take our free online calligraphy course!
Our most popular class gives you worksheets and step-by-step videos to teach even the newest letterer how to do calligraphy. You can get started TODAY with a regular pen and paper. No fancy tools needed. Start today.
More free tutorials:
