
Solved: Calligraphy Pen Ink Not Flowing (+ Other Common Issues)
INK: so satisfying to watch…

....but it can also be really frustrating to use!
You're not alone if you've struggled with calligraphy ink not flowing, ink blobs and other common issues with pointed pen calligraphy. This guide contains our best advice and will give you methods to help you troubleshoot.
Let's start with the very basics of what you need to know before writing with a pointed pen nib.
Pin it for later! ↓

Table of Contents
Pointed Pen Trouble
One look will tell you dip pens are very different beasts from ballpoint or fountain pens. To be clear on the lingo, the terms pointed pen or calligraphy dip pen all refer to the same type of writing utensil. Pointed pens have nibs at the end, and are often held at an angle using an oblique pen holder.
You need to understand nibs in order to solve your ink problems, so let's get right to the point (pun intended!).
How to Prep a Nib
If you notice that your ink is pooling up on your brand-new nib, or just doesn't stick to it properly, that's because new dip pen nibs need to be prepped first before using.
Brand new nibs have a protective coating on them from the manufacturer so they don't rust in storage. The coating is not visible, but it needs to be removed first. There are a few ways of doing this and different calligraphers swear by different methods.
Pin it for later! ↓

I usually follow these steps to prep my nib when writing:
Start by spraying some Windex on the nib and wiping it with a paper towel.
Then rinse the nib in water and dry it again.
After that, I dip the nib back into my ink and make sure the ink is adhering to the surface.
Another method is to scrub with either toothpaste or dish soap, then rinse. Or if you have a spare potato handy, you can also poke the nib into the potato carefully and let it sit for 10-15 minutes, then rinse.
Pro tip: Avoid touching the nib with your fingers as the oils will cause the ink to pool up.
You may also like: How To Choose The Best Calligraphy Nibs [Guide]
After your nib is prepped correctly, it’s time to make sure that you’re dipping it correctly into your ink well.
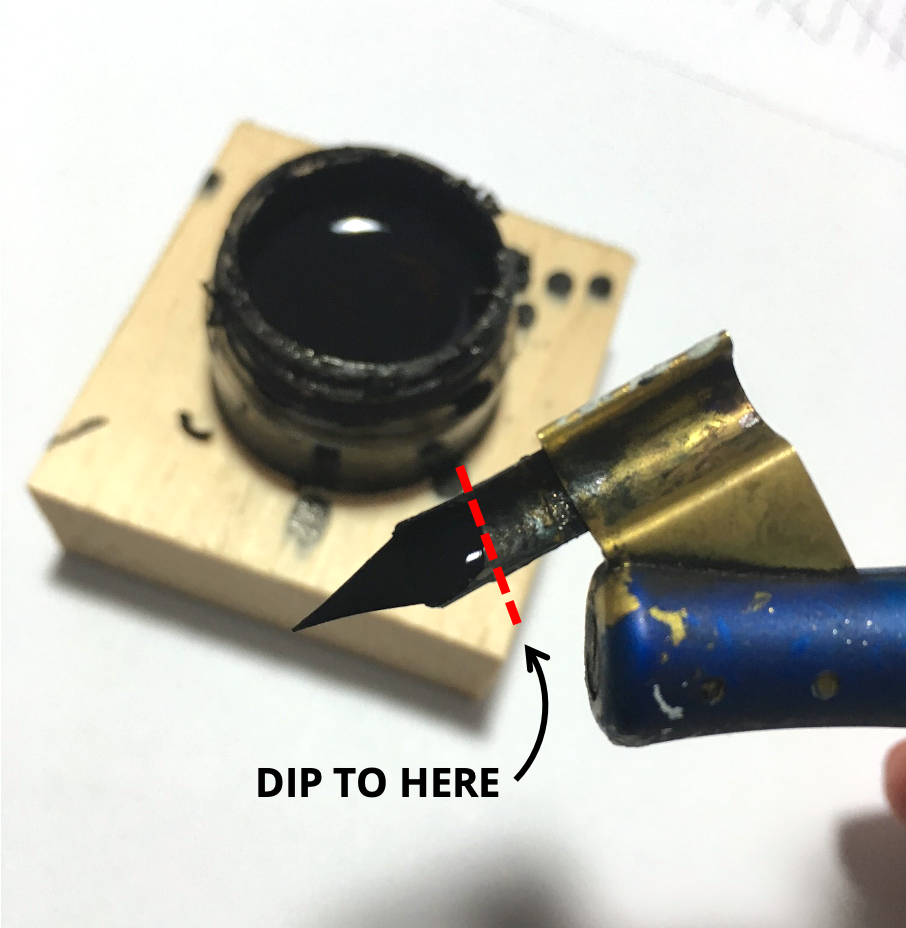
How to Dip a Nib
Dip the tip of the nib into the ink container so that ink covers the vent hole, but does not reach the flange (the part that holds the nib).
Sometimes it seems like you can't seem to draw a single solid line, and the only thing that comes out of pen is two very fine parallel lines.
Here’s how to troubleshoot the “railroad tracks” effect:
If this appears immediately, you only have a little ink and the nib needs to be dipped further.
If the effect appears frequently as you are writing, you'll have to dip your pen more often.

If you’ve been struggling with pointed pen calligraphy because you can’t get the ink to flow smoothly, the next thing to check is the ink consistency.
Why Is My Calligraphy Pen Ink Not Flowing?
Several things can affect ink flow. Certain types of pens, like fountain pens, can get clogged when ink dries in the tip - we'll teach you how to clean your pens in a minute.
Likewise, having incorrect writing technique can also be a cause: not enough pressure combined with too little movement leads to decreased ink flow onto the page.
Environmental factors like humidity and temperature also have an impact on the life of your ink. Ink is best stored in a cool, dark environment to help it maintain its shelf life.
The most likely culprit of ink not flowing: If you've been struggling with pointed pen calligraphy because you can't get the ink to flow smoothly, it’s likely your ink consistency. Here's how to fix it.

Jordan writing calligraphy with a pointed pen
How To Fix Ink Consistency
Getting your ink to the right consistency is an essential step in solving your ink headaches. You may not realize that you can adjust the consistency of your ink simply by adding a drop or two of distilled water.
Adding too much water will make the ink too thin, which can cause other problems. If your ink is thin and your paper is absorbent, the ink will bleed into the paper.
Rule of thumb: Thinner inks work well on less-absorbent paper, where it can sit on top of the surface rather than spreading into it. Be careful not to smudge it since it'll take longer to dry!
As you're practicing, you'll have to continue adding more ink and/or water to the container. Experiment with the consistency and see what works best with your ink, nib, and paper combination.
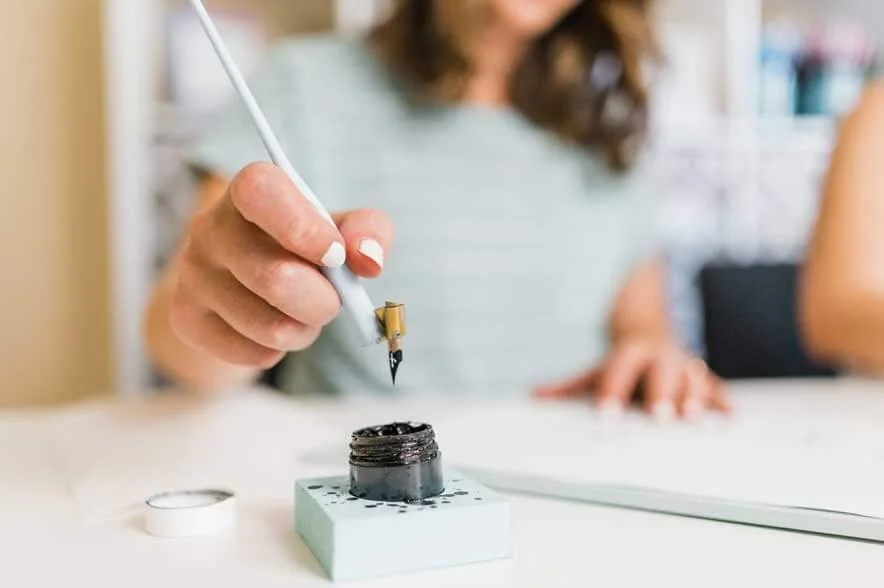
Jordan dipping her pointed pen in an ink well
Is Your Calligraphy Ink Too Thick?
If your ink is too thick, it won't flow easily and it'll create blobs when you write. You might see a giant blob when you first press down to create a thick stroke.
This could also be caused by too much ink on your nib. Make sure you don't dip your nib beyond the flange.
When your ink is too thick, here's how to fix it:
Solution 1: Try adding more water to the ink with an eyedropper.
Solution 2: Let some of the excess ink drip off after dipping before you write.
Pro tip: I find that more flexible nibs work better with thicker inks, such as the Hunt 101 nib.
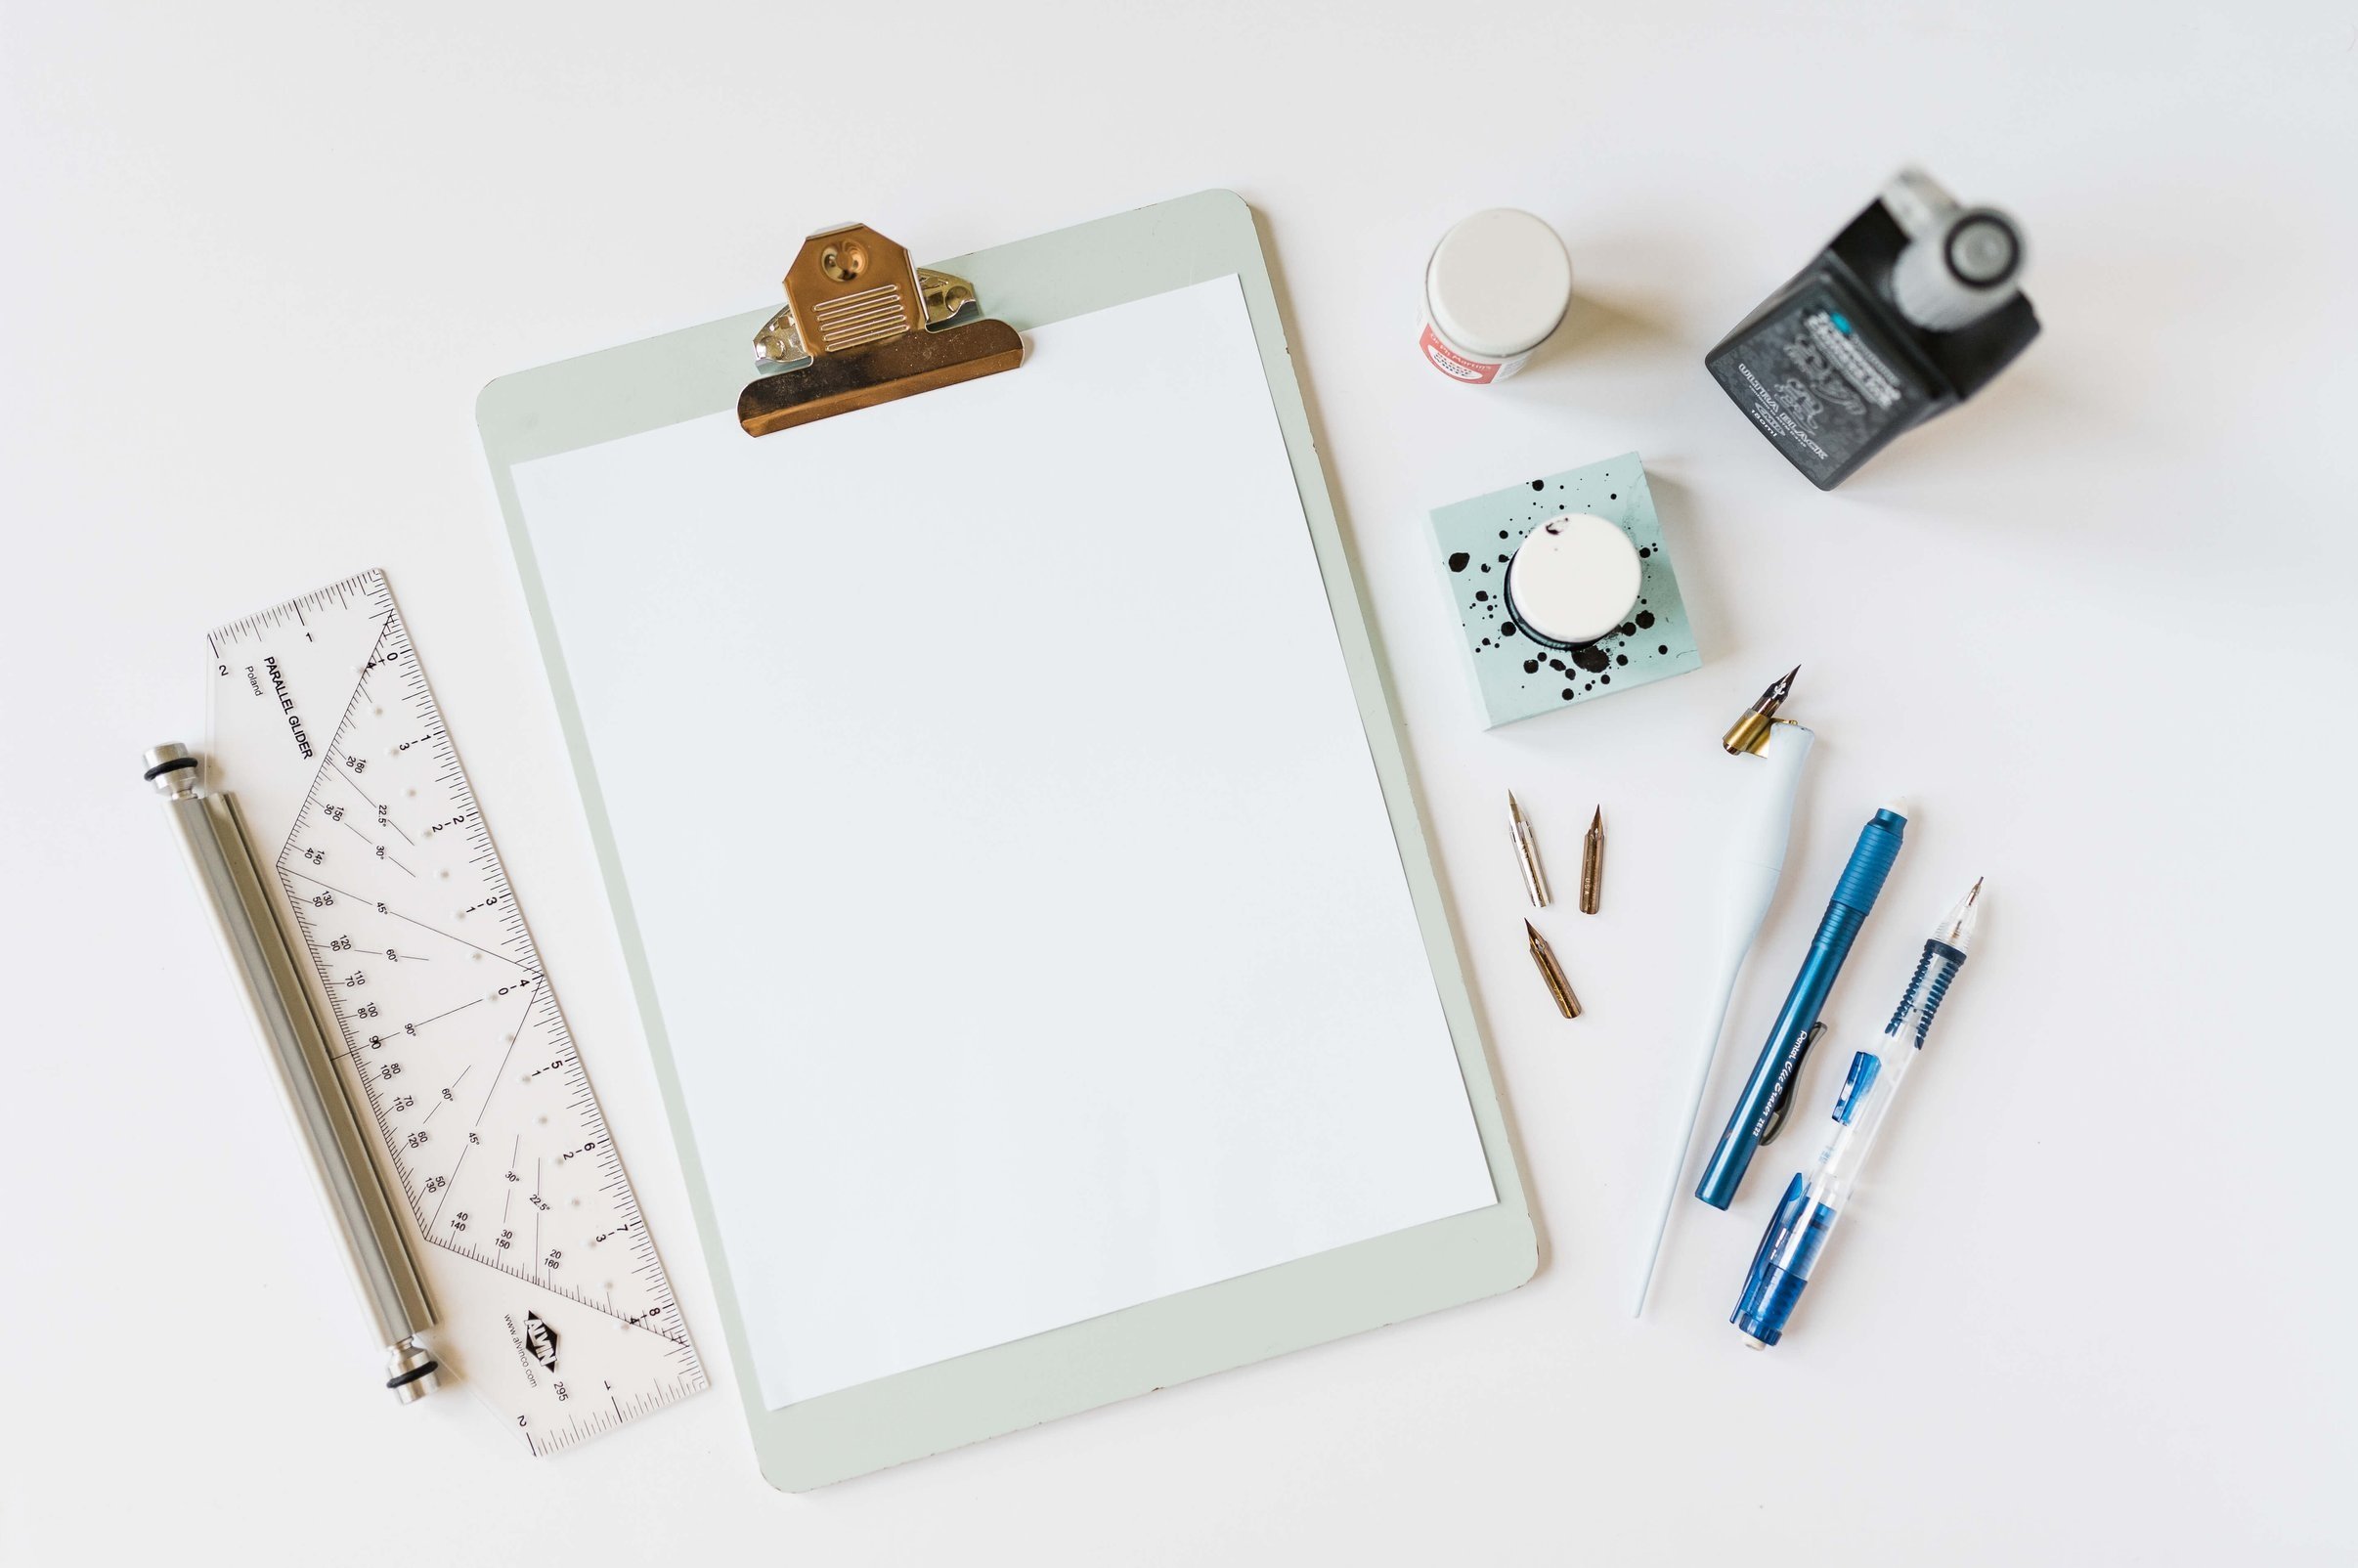
Some of our favorite calligraphy supplies
What To Do With Thin Ink?
If your ink becomes too thin, there are two things you can do. Be cautious that you don't leave it open too long or forget that it's open - you don't want to spill it or accidentally let it dry out completely (yes, I've experienced both!).
Anyone who has to deal with ink that's too thin has three easy options available:
Solution 1: Add more ink to the container if there is room.
Solution 2: Let it dry out - water evaporates if you leave it open for a few hours.
Solution 3: Add a little bit of gum Arabic powder and mix well.
Specific Ink Types
Different inks have different learning curves and intricacies. Here are some popular types of calligraphy ink and some tips for using them:
Black Sumi ink is my go-to for practicing. In a small container, I add enough ink to fill it about two-thirds of the way up, then use an eyedropper to fill it almost to the top with water. This creates a ratio of approximately 2 parts ink to 1 part water.
Some inks like Dr. Ph. Martin's Copperplate Gold are thicker than regular ink, and you won't want to dilute them with water because the color won't look the same as intended.

For example, if you dilute Bleedproof White ink too much, it will no longer be an opaque white color and instead look transparent.

Other inks are meant to be thinner, such as Walnut Ink. If you use Walnut Ink crystals, you'll have to mix them with water until the desired shade is achieved, ranging from dark brown to a beautiful sepia tone.

No matter which ink you choose, make sure to use high-quality paper to ensure that your ink doesn't fade or bleed!
You may like: Best Calligraphy Paper (Comparisons And Recommendations)
How To Clean Ink Off Your Nibs
Cleaning the ink from your nibs is an important step in pen maintenance.
To clean your nibs, simply wipe the ink off with a paper towel or spare cloth. This should be done when you take breaks and when you put your supplies away for the day.
Pin it for later! ↓

Fountain Pen Ink Not Flowing
Fountain pens are different than calligraphy dip pens used to write Copperplate calligraphy. They're not a writing utensil that we use often here at Loveleigh Loops, but we do discuss them in our types of calligraphy pens guide.
Unlike a dip pen, a fountain pen comes with an ink cartridge and doesn't require dipping your pen in ink.

When troubleshooting fountain pen ink, start by checking that your ink cartridge still has ink. You burn through these ink cartridges at a surprising pace when you're writing a lot!
You do this by unscrewing your fountain pen and visually checking the ink level of the cartridge. Or, if your pen has a transparent pen body, you can just do a visual check without disassembling it.
If you still have ink left, try adjusting the fountain pen angle and writing on a piece of scrap paper and see if you can find better ink flow.
When you're experiencing persistent problems with ink flow, this can be the result of dried ink that's blocking the ink from flowing smoothly. Follow these steps to troubleshoot:
Solution 1: Grab a paper towel and simply wipe off any dried ink to clean the nib
Solution 2: For a fountain pen deep clean, disassemble the pen and soak. You can learn more about this in this tutorial.

Further Troubleshooting
Troubleshooting is a very important skill to develop when you're learning how to use pointed pen and ink. You have to pay attention to all the different variables (ink type, paper texture, pen angle, nib flexibility, etc.) in order to be comfortable and confident with your supplies. This does take a lot of time, practice, and patience!
Our online course, Calligraphy On Point, has an entire module about the best supplies for beginners, how to use them, and how to troubleshoot. It shows even more problems you may experience and how to solve them so that you're not frustrated!
The course also teaches how to gain control of your pointed pen, execute the fundamental strokes and consistency drills, and build the miniscule & majuscule alphabets in the Copperplate Style. We've also included some bonus lessons including letter variations and flourishing!
Sound like something you might be interested in? Learn more here.
Download Your free Copperplate Guide Sheet:
