How to Make Super Simple Calligraphy Mockups in Procreate
When you create digital art like iPad calligraphy, the default is a plain white background. But there's an incredibly simple way to make your digital art look like a real, physical styled piece: mockups!
What are iPad Calligraphy Mockups in Procreate?
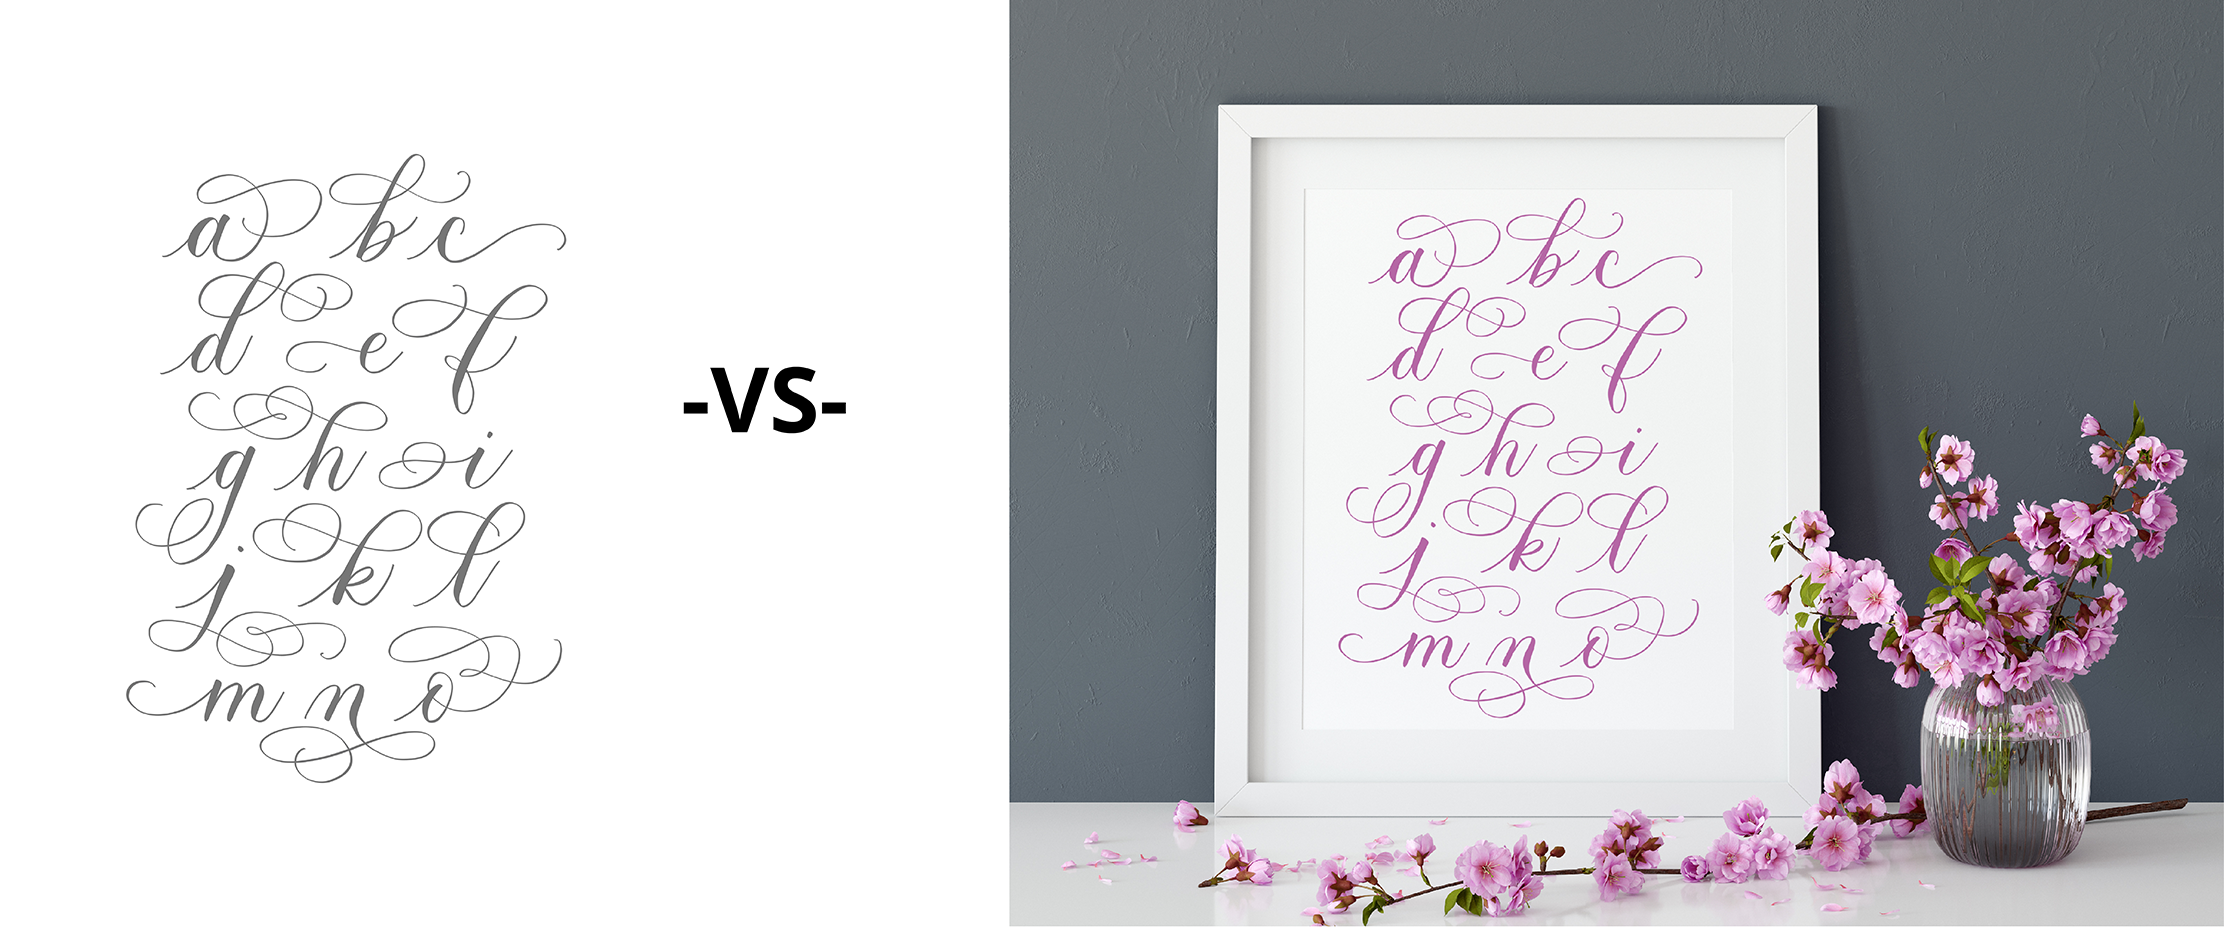
In simplest terms as it relates to Procreate, a mockup is when you use a photograph behind some digital artwork to bring it to life. In the example below, you can see how adding the photo of a frame changes everything about the look and feel of the piece. Luckily, it's a very easy process to create simple mockups on frames, canvases, and pieces of paper.
So grab your iPad and follow along with this quick step-by-step tutorial!
Pin it for later! ↓

Table of Contents
This blog post contains affiliate links.
Step 1: Take a Photo or Find a Styled Image
You'll need to save a photo of a frame, canvas, or piece of paper to your iPad Photos app. If you're taking your own photo, make sure you get an exact straight-on shot so that the lettering doesn't look warped or angled.
If you don't have pretty frames and props laying around, or you don't have professional lighting, you can actually use pre-made styled photos! We like using this frame set because there are 20 different options.

Step 2: Open the Photo in Procreate
Open the Procreate app and tap the word "Photo" in the top right corner of the gallery. This will open your Photos, where you can select the frame image. Procreate will automatically create a new canvas based on the size of your image.

Step 3: Add Lettering Layer
Open the Layers menu in the top right corner and click the Plus (+) icon to create a new layer above the inserted image. You can name the layer to "Lettering" by tapping it and choosing Rename.On the Lettering layer, create your piece. You can hide the frame temporarily by unchecking the image layer visibility box to allow you to focus just on the lettering, then re-check the box to bring it back. Tap the Lettering Layer and choose the Arrow (in the top menu) to move and resize the lettering so it's positioned in the center of your frame.
It's important to create the lettering on its own layer so that you can move, adjust, edit, and even recolor the letters without affecting the frame image.

Step 4: Export the Image to Your iPad
Go to Actions (Wrench) > Share > Share Image as PNG or JPG so you can export the final piece to your iPad Photos and share it wherever you'd like. We'd love to see your work in our iPad Lettering Facebook group! :)

See what a difference that makes?If you want to explore all the frames, make sure to check out the Frame Mockup Collection.
Here are a couple more examples of the frames in action:

Floral Wedding Mockup Example
Here's another example using this beautiful floral wedding collection with over 50 options! Just make sure you look for the JPG folder instead of the PSD (Photoshop) files. The JPGs are the image files that you can save to your iPad Photos, while the PSD files take a few extra steps.


It's almost like you paid a hundred bucks for a professional to photograph your work... without having to leave your couch!
Explore more of the floral wedding collection and dozens of other mockup options.

Want to learn how to create even more mockups in Procreate? You can go beyond frames and use iPads, notebooks, phone cases, glasses, and more to showcase your work. Check out our online course and get 30% off here.