How to do Calligraphy with a Normal Pen
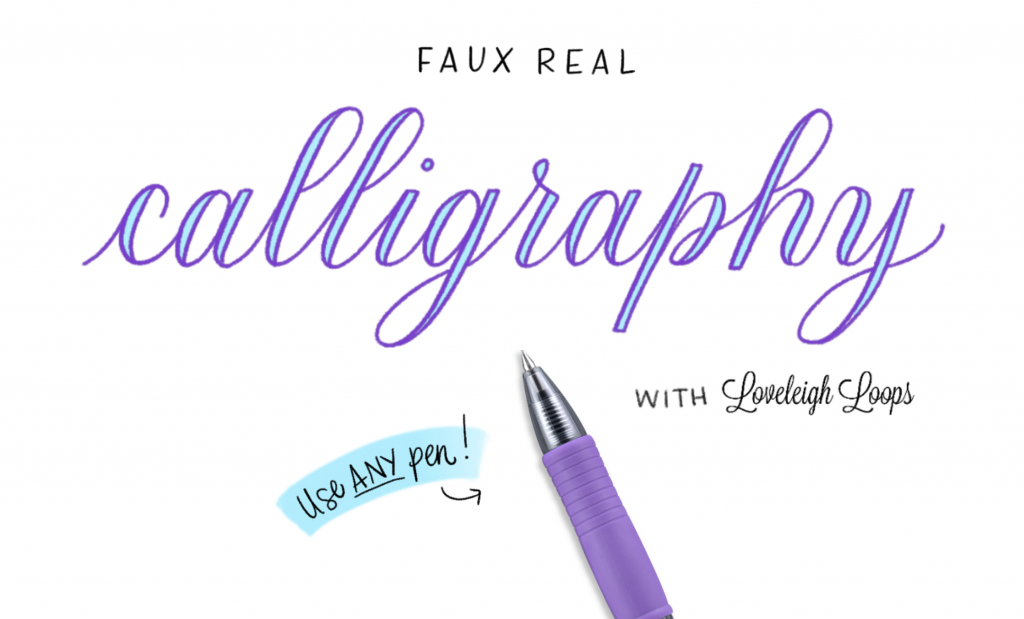
How to do faux calligraphy: the perfect starting point for beginner hand lettering
Ever wanted to create something that looks like calligraphy, but you can't use a calligraphy pen (either because you don't have one, you don't know how, or because you're writing on something other than paper)?
That's where faux calligraphy comes in handy!
Pin it for later! ↓
Table of Contents
Watch our video or follow along with the steps below:
Tools:
Any regular pen. It's best to use a monoline pen, meaning that every stroke you use is the same weight, so avoid flexible tools like brush pens.
Steps:
Write your words with connected letters in cursive, trying to keep a little more space between the letters than normal. (*Note: Calligraphy is different from cursive, but for the purposes of this demonstration, we'll keep things simple!*)
One at a time, go over each lettering in the air with your pen to figure out where the down strokes are. On just the down strokes, add a parallel line slightly offset from the original stroke.
Fill in the gaps between the downstrokes to make them appear to be thick. Make sure that the thickness is consistent across your letters.
Here are a few examples of faux calligraphy in action. First, with an embossing pen:
And another style (as seen on Instagram), without filling in the gaps:
Ready to learn more? Take our free online calligraphy course.
Our most popular class gives you worksheets and step-by-step videos to teach even the newest letterer how to do calligraphy. You can get started TODAY with a regular pen and paper. No fancy tools needed. Start today.