
3 Ways to Make Your Procreate Lettering Look More Advanced
We've studied what leaders in the field of iPad lettering are doing and have come up with the top 3 ways the pros use design elements.
Pin it for later! ↓

Table of Contents
1) Use a dimensional backdrop
Using some sort of background other than a plain color makes a huge difference! An easy way to do this is to use an image of a texture, such as paper or paint strokes. This set from Design Cuts has tons of professional options. To use it, open your file download and copy and paste the picture into Procreate. The shortcut to Paste an image is to swipe down with three fingers on the screen and choose Paste.
You can select the image and resize it to “zoom in” on a specific area. Then, make sure the image layer is below your lettering layer. Experiment with the colors of the background by going to Adjustments > Hue, Saturation, Brightness and adjust the sliders.

2) Add texture to the letters
The fastest way to do this is by using a specially designed lettering brush. We recommend sketching your letters first. Then, reduce the opacity of that layer, add a new layer on top, and trace over with the new brush. You may need to adjust the size of the brush.
Another way to add texture to your lettering is by using a clipping mask. On top of your existing lettering layer, add an image of a texture. Tap the texture layer on your layer menu and set it to Clipping Mask.

3) Add a final touch on top
Typically this is done with a specially designed brush to create effects like glitter, chalk dust, or watercolor splatters. You can also add hand drawn embellishments or simple dots and lines around the edge. Shadows and highlights are another popular way to add a final touch.

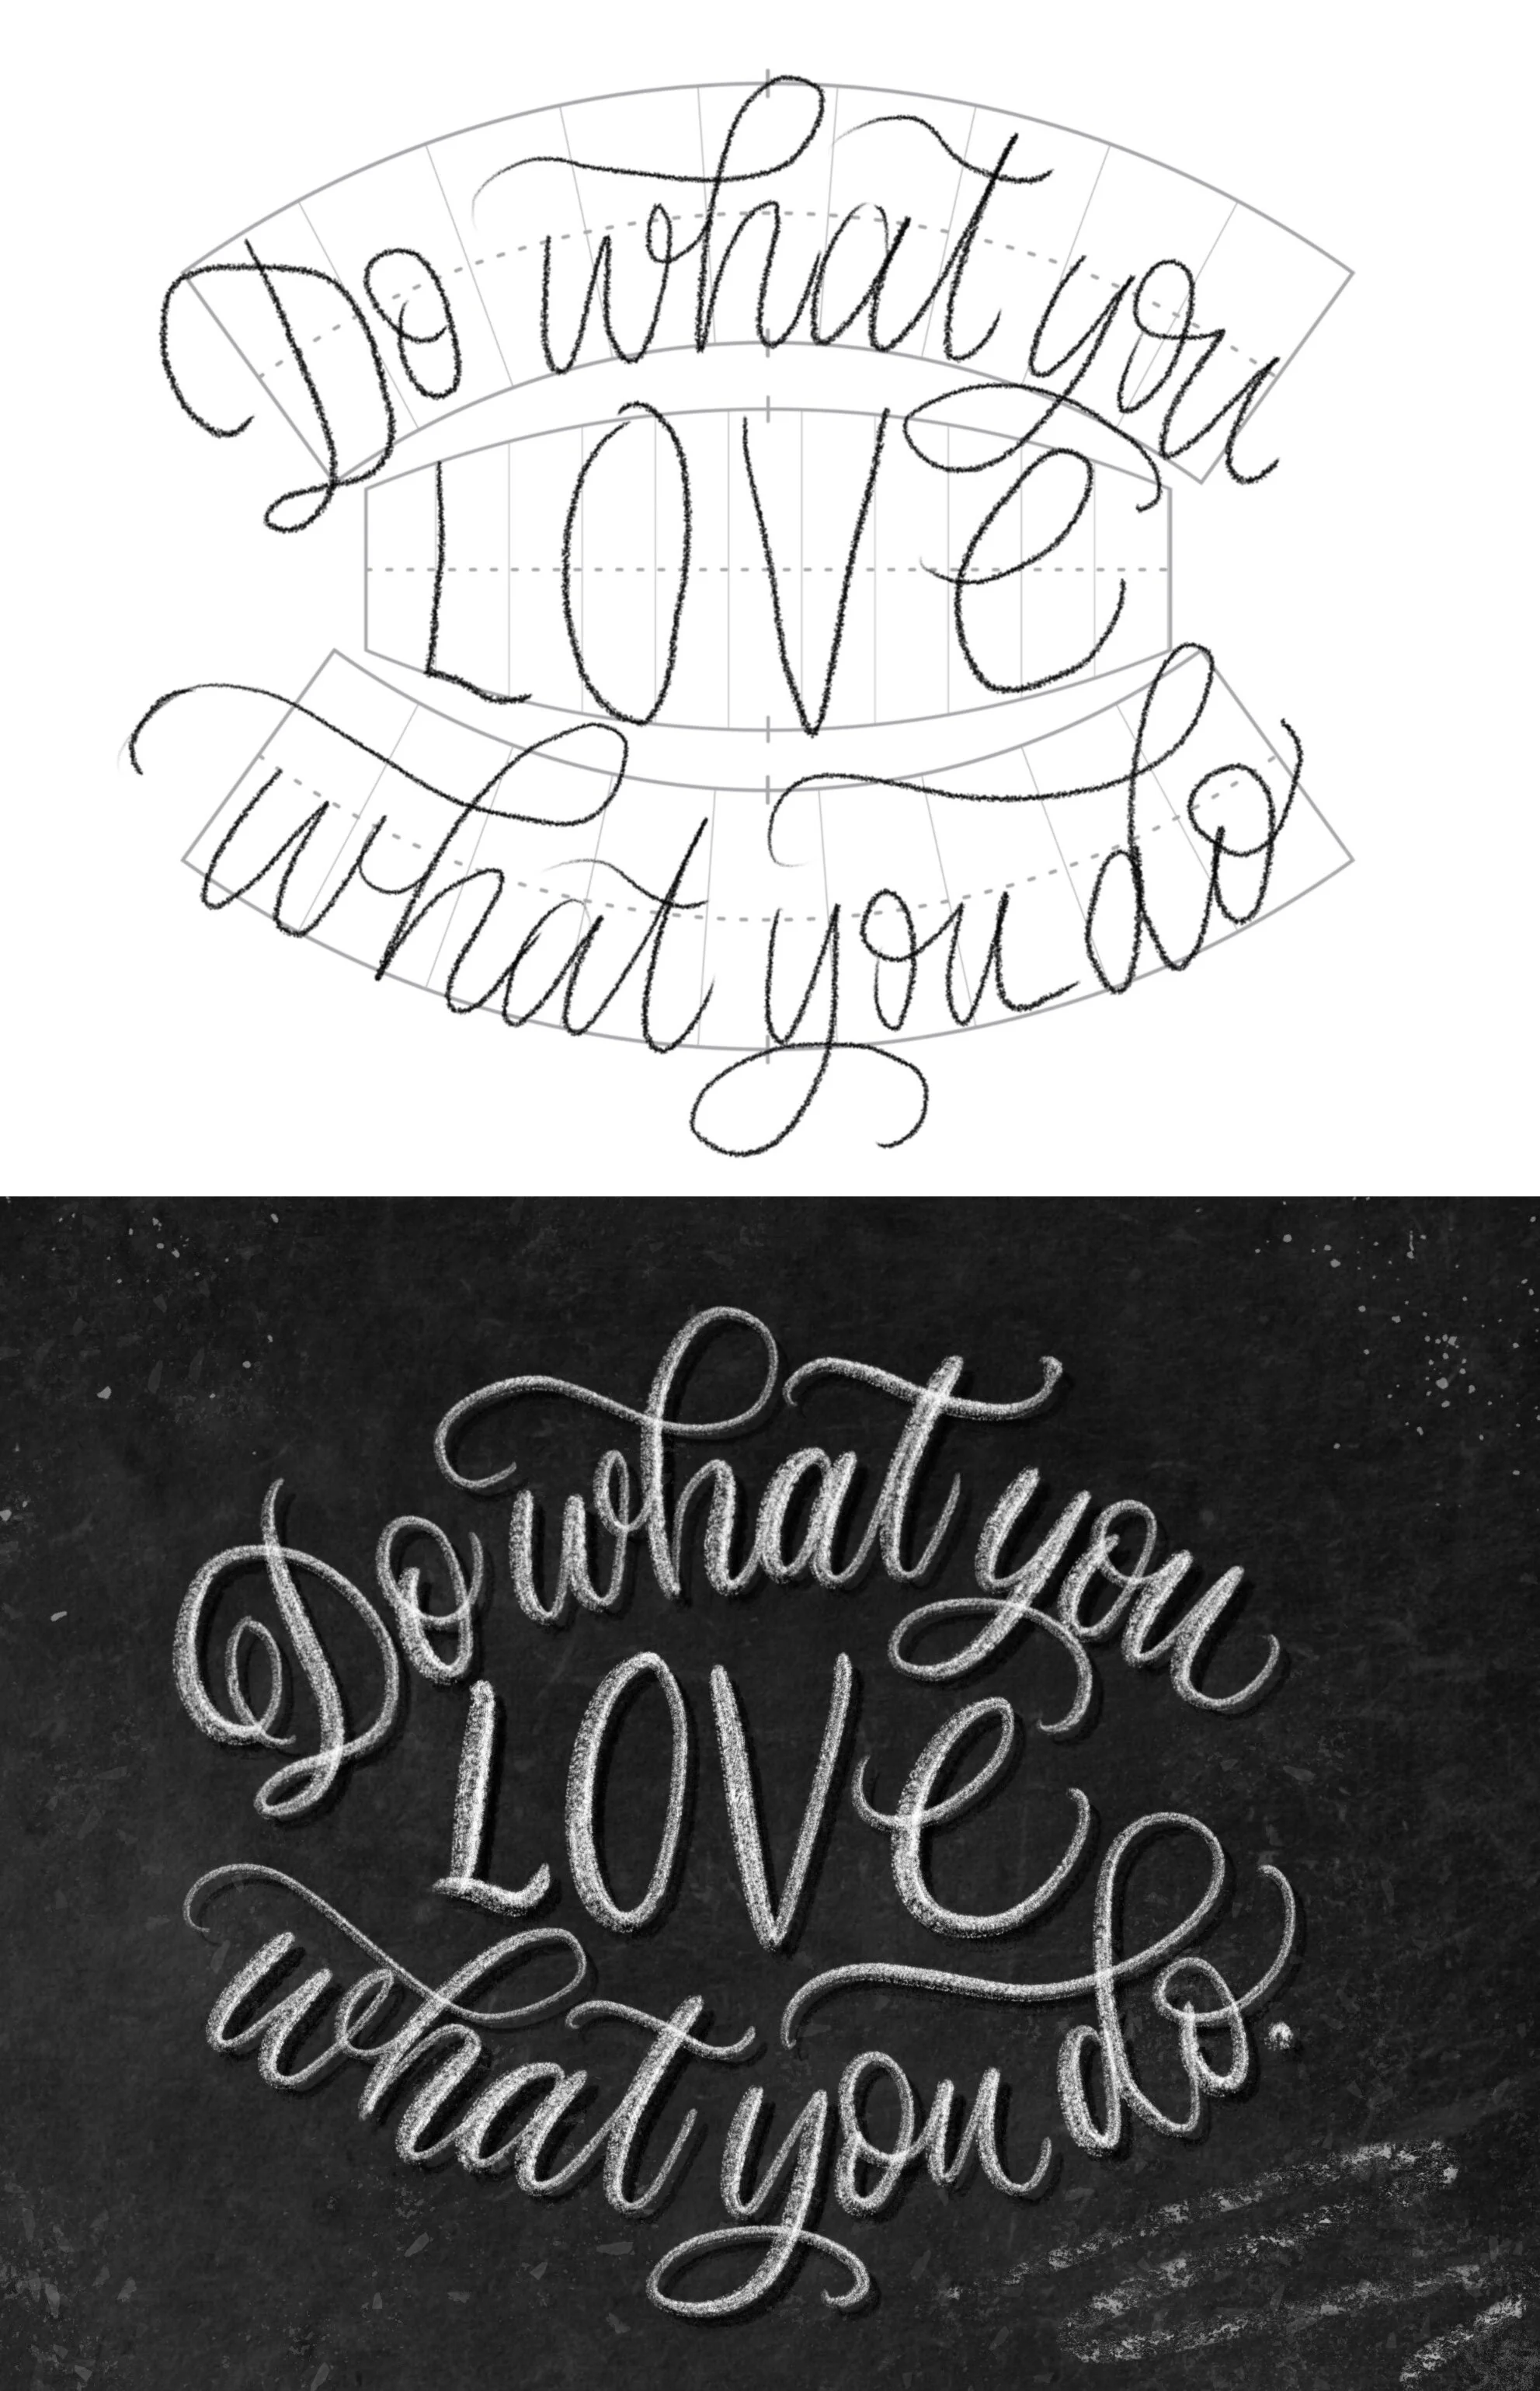
4) Bonus Tip: Plan Your Layout
The Grid Builder set by Ian Barnard is a “secret weapon” that allows you to quickly and easily plan a layout for your lettering. Use the image files or stamp brushes that come with the set to create a guide. Add a new layer on top to sketch your letters, then hide the grid layer.
Time to Implement!
We challenge you to take a project you’ve done in Procreate and add at least one of these elements.
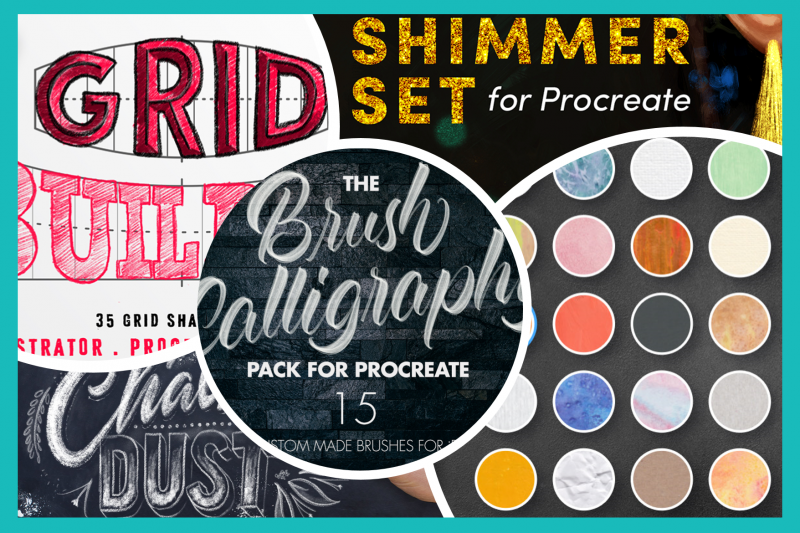
Wondering where to find high quality resources to use in your projects? We recommend checking out designcuts.com to find the best of the best. You can also find our top 5 favorites in our 50% off bundle, below!
Each item in the bundle has dozens of options. Since they’re digital products, you can use them for an unlimited number of times in your projects, and you can make adjustments to them and use them in countless combinations. Start adding dimension, texture and that special final touch, just like the pros.
Just want one of the resources? You can get them separately, too:


Free Online Course
We made a free course about how to download the Design Cuts resources to your iPad and import the different file types into the Procreate app. That way, you won't get stuck and you can put them to use right away! Enroll here for free

New to Procreate, and not sure which iPad to get? Check out our comparison guide!
