
How to Add Gold Foil to Lettering Projects
How to foil hand lettered work. Gold foil is an easy way to make your pieces shine!
This post goes over one of several methods that work for applying foil.
Pin it for later! ↓
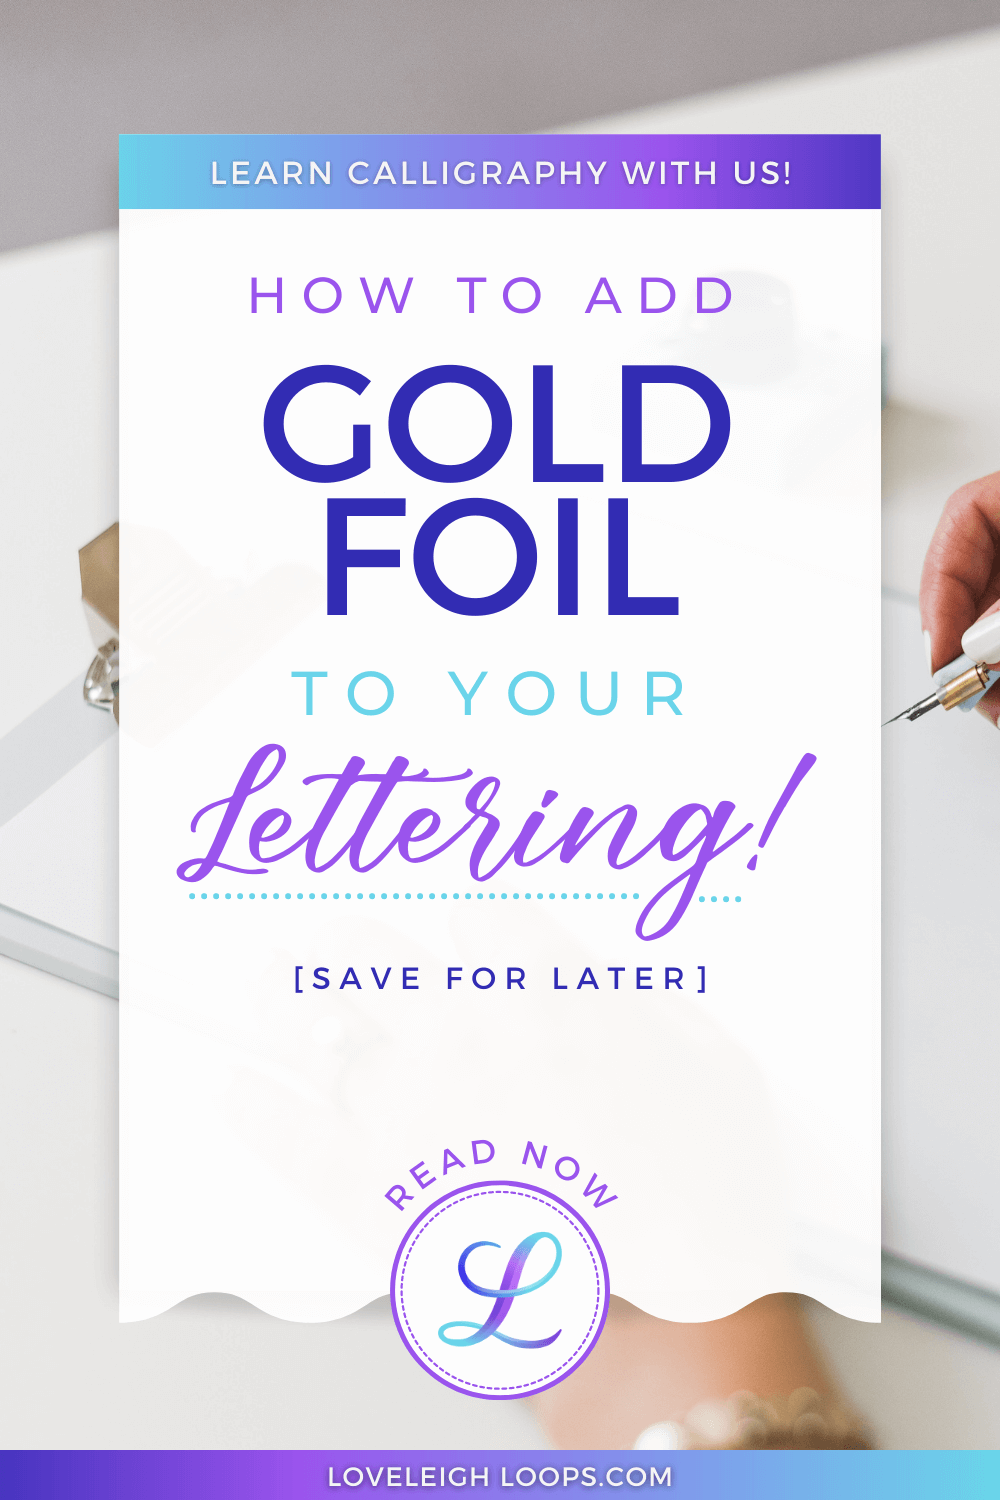
Table of Contents
Follow the written tutorial below or work along with us in this gold foil video tutorial:
Gold Foil Tools:
Paper (copy paper and cardstock work well)
Steps:
Turn on laminator – allow it to heat up for at least 5 minutes
Print a design in toner ink. For hand drawn designs, make a copy of your original with a laser printer. NOTE: This method does NOT work with inkjet printers
Trim the foil to completely cover the design
Place foil on design with color/shiny side facing up
Run your design and the foil through the laminator. Tip: use a folded piece of copy paper as a carrier sheet to prevent jams
Allow design to cool
Gently peel away the foil sheet to reveal your design
Try it out and tag us on Instagram! @loveleighloops
You may also like: All About World Calligraphy Day
Ready to learn more? Take our free online calligraphy course!
Our most popular class gives you worksheets and step-by-step videos to teach even the newest letterer how to do calligraphy. You can get started TODAY with a regular pen and paper. No fancy tools needed. Start today.

